A rental kitchen can feel outdated even when the cabinets and appliances still work perfectly. A plain wall, stained-looking grout, or an old backsplash can make the whole room feel tired. Replacing the tiles may be expensive, messy, and difficult to get approved by a landlord.
That is why a peel and stick backsplash for renters can seem like an attractive shortcut. It can add color and pattern without the usual tile-setting process. But “removable” does not automatically mean “safe for every wall” or “easy to take off without damage.”
Before buying a roll or tile sheet, check the surface, the product instructions, the area around your stove, and the condition of the wall underneath. A little preparation can help you avoid a makeover that looks good for a week but creates a problem when you move out.
1. Check your rental agreement first
Start by reviewing your lease and, if needed, asking your landlord for written permission. Some landlords allow temporary decoration, while others restrict adhesive products because they may affect paint or wall finishes.
Explain exactly what you want to install, where it will go, and how you plan to remove it. Keep the reply with your rental documents.
Even if a product is advertised as renter-friendly, the result depends on the wall’s paint, age, texture, and condition. Permission is not a guarantee that the adhesive will come off cleanly.
2. Identify the surface before choosing a backsplash
Peel-and-stick products are not designed for every wall. Many work best on surfaces that are smooth, clean, dry, and firmly attached.
Check whether your backsplash area is:
- Smooth, intact painted wall
- Existing smooth ceramic tile
- Textured or uneven paint
- Wallpaper
- Unpainted drywall or plaster
- A wall with peeling paint, grease, or moisture damage
Do not assume that a product suitable for ceramic tile will also work on textured paint or wallpaper. For example, WallPops advises testing the product in an inconspicuous area and lists several surfaces where its backsplash should not be applied. Read the instructions for the exact product you intend to use: surfaces and preparation instructions.
Important: If the wall is damp, peeling, or damaged, fix the underlying issue first. Covering it with an adhesive sheet can hide the problem rather than solve it.
3. Test a small, hidden section before covering the wall
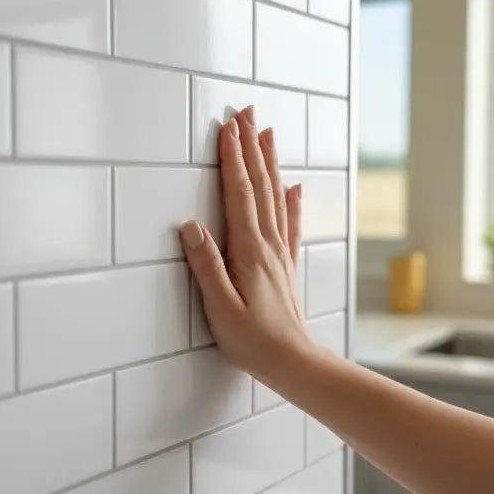
This is the step many quick makeover guides skip.
Choose a discreet spot that has the same finish as the backsplash area. Apply a small sample according to the manufacturer’s directions. Leave it for the period recommended by the product maker, then inspect the edges and the wall.
Look for:
- Paint lifting or bubbling
- Adhesive that fails to grip
- Discoloration beneath the sample
- A surface that feels soft, damp, or unstable
If the sample damages the finish or does not adhere properly, stop. A larger installation will not fix an unsuitable surface.
If your paint is new, allow it to cure for the period stated by the paint and backsplash manufacturers. “Dry to the touch” does not necessarily mean the paint is ready for adhesive.
4. Choose the right material for the kitchen zone
Not every peel-and-stick backsplash has the same heat and moisture limits. Read the product label and installation guide rather than relying on a general “waterproof” or “heat-resistant” claim.
Think about where it will be installed:
- Behind a sink: The product must be suitable for the amount of splashing in that area. Seal or protect edges only if the manufacturer recommends it.
- Behind a countertop: Check whether the product is approved for that wall surface and nearby conditions.
- Near a cooktop: Follow the product’s heat-clearance rules. Some adhesive tiles must not be exposed to direct flame or excessive heat.
Never place a decorative adhesive product where it could contact an open flame. If the manufacturer specifies a safety gap around a gas range, keep that gap clear. When in doubt, use a suitable, professionally installed heat-safe backsplash instead.
5. Measure the area-and include the awkward parts
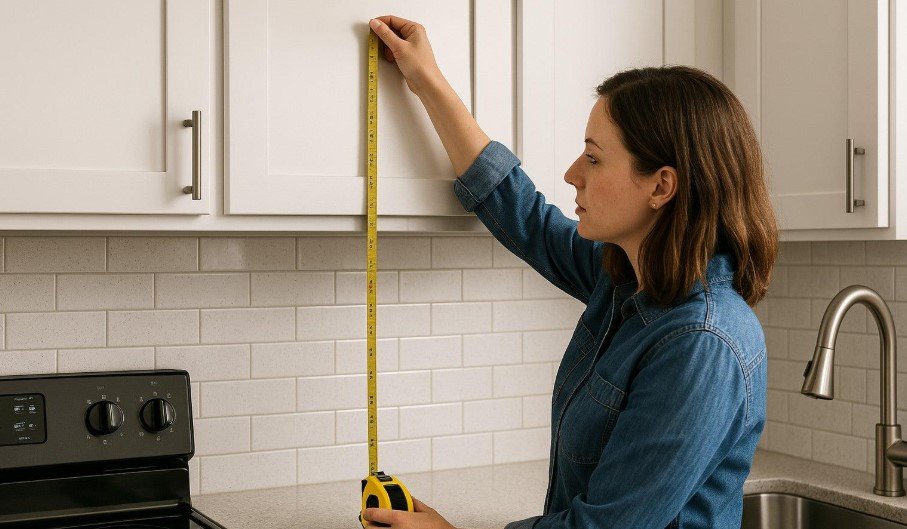
Measure the width and height of the wall section you want to cover. Multiply them to estimate the area, then check the package coverage.
Also measure around:
- Electrical outlets and switches
- Window or cabinet edges
- Corners
- Pipes or other fixed fittings
Buy enough material to allow for careful cuts and a few mistakes. A small extra amount is usually easier to manage than discovering that the final strip is missing.
Before peeling off the backing, lay out the pieces on a clean surface and check how the pattern will line up. Repeating patterns can look noticeably uneven if the first row is crooked.
6. Prepare the wall carefully
Adhesive needs a clean surface to grip. Cooking grease, dust, and cleaning-product residue can interfere with adhesion.
Use the cleaning method recommended by the product maker. Let the wall dry completely before installation. Do not use a cleaner that leaves a slippery film, and do not install over loose paint.
The Smart Tiles preparation and installation guidance explains that surface condition and preparation matter, and that suitability varies by surface. Follow the directions for the specific brand you buy; instructions are not interchangeable.
7. Install slowly, not all at once
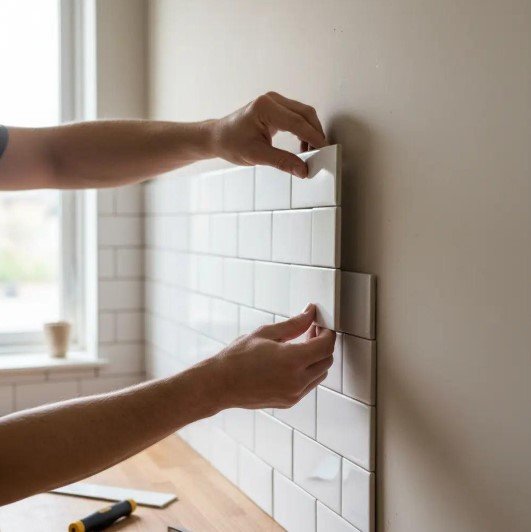
Start with a level guideline so the first row is straight. Peel back only a manageable portion of the backing, position the tile, and press it down according to the manufacturer’s instructions.
Work across the wall in small sections. Check the pattern and alignment before firmly pressing each piece into place.
For cuts around outlets, switches, or other electrical fittings, turn off power at the appropriate breaker before working and do not cover electrical components. If you are unsure how to handle the fitting safely, ask a qualified electrician.
Avoid stretching the material to force it into place. Stretching can distort the pattern or make edges lift later.
8. Keep the edges and seams in mind
Edges are often the first places to show trouble. Before finishing, inspect the top, bottom, corners, and seams.
Do not add caulk, glue, or another adhesive unless the product instructions specifically allow it. Extra adhesive can make removal harder and may damage the wall.
Also, do not assume that a backsplash designed for splash exposure is suitable inside a shower or in a place that stays wet. Check the product’s stated limits.
9. Plan for removal before you install
A renter should know how the backsplash comes off before putting it up.
Keep the packaging or save the installation instructions. When it is time to remove the product, follow the manufacturer’s method. Some products recommend gently warming the adhesive; others may have different directions.
Work slowly and stop if the paint or wall surface begins to lift. Do not yank a large sheet away from the wall. After removal, inspect the surface and clean any residue only with a method safe for that finish.
A product may be removable from one wall but damage another. That is why the hidden-area test is so important.
10. Decide whether it is worth it for your kitchen
A peel-and-stick backsplash can be a sensible temporary update when the wall is suitable, the landlord allows it, and the product matches the kitchen’s heat and moisture conditions.
It may be the wrong choice if the wall is textured, damp, damaged, close to an unprotected flame, or finished with paint you cannot risk damaging.
Before buying, use this quick checklist:
- I checked my lease or got permission.
- I identified the wall surface.
- I read the exact product’s installation and heat instructions.
- I tested a small hidden area.
- I measured the full area and planned the cuts.
- I know how the product is supposed to be removed.
Frequently Asked Questions
Is peel-and-stick backsplash suitable for every rental kitchen?
No. Suitability depends on the wall finish, product instructions, heat exposure, moisture, and the rental agreement. Test a small area first.
Can peel-and-stick backsplash go over existing tiles?
Some products allow installation over smooth, firmly attached tiles, but grout depth and tile texture can affect the result. Check the product’s surface requirements and test a sample.
Will it damage the paint when removed?
It might. Removal depends on the adhesive, paint condition, wall surface, and how long the product has been installed. A hidden-area test can help reveal risk, but it cannot guarantee damage-free removal everywhere.
Can I install it behind a gas stove?
Only if the exact product is approved for that location and you follow its heat and flame-clearance instructions. Never assume that a decorative backsplash is safe near direct flame.
Final thoughts
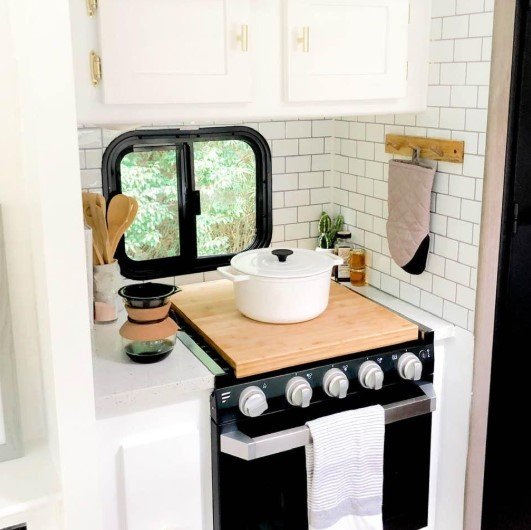
A rental kitchen does not need a permanent renovation to feel more personal. A peel-and-stick backsplash can be a useful update-but the best result starts with checking the wall, reading the product directions, and planning for removal.
Choose a product for your actual kitchen conditions, not just its appearance in a photo. That small bit of preparation can save you from a costly surprise when it is time to move.
If you’re refreshing other rooms in your rental, read our guide on how to make a small living room look bigger.